I had been looking for furniture for the guest bedroom since we moved in (over 12 months ago, LOL) but i just couldn’t bring myself to spend the kind of money it was going to take to achieve the look i was going for. So the 2nd bedroom was operating primarily as Pogo’s favorite napping place, and secondarily as a big closet with all the stuff we didn’t care to organize immediately (read: ever). Fast-forward to 1 month before my birthday… my sister & brother-in-law were coming to visit and i was desperate to create an acceptable guest suite!
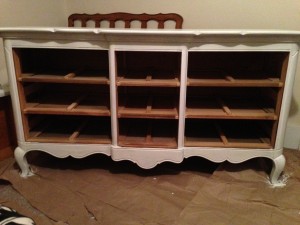
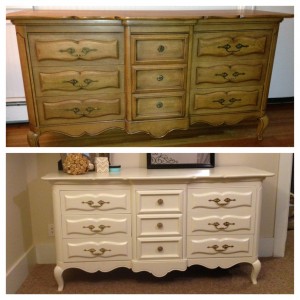
So i caved in & purchased an old dresser i’d seen on Craigslist for months… it was solid oak and a steal of a deal (only $200!) but it needed to be brought into this decade. I decided this would be my first “shabby-chic-furniture-re-painting-project” that all the kids on Pinterest were doing. So we hit up Home Depot and called up some friends (Thanks Brett & Julia!) and got to work…
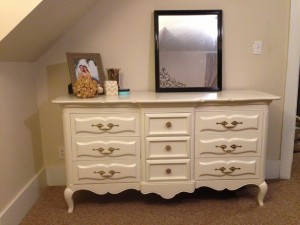
The results were exactly what i was hoping for. Now, i can’t wait to try different pieces of furniture! Before doing this project, i would have never considered myself a “handy woman”… crafty, but not HANDY. Here are a few helpful tips for anyone who is interested!
1) Cleaning, Sanding & Priming the furniture is KEY! I’ve seen some articles & blog posts on the web that lead people to believe that you can skip some or all of these steps and to that i say… “You will regret it!”
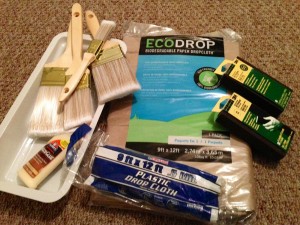
2) Here are some of the supplies i used:

The eco-friendly drop cloth was a nice idea, and i was trying to be “green” but it’s not practical to use when the item you are painting is close to 100 lbs. It ripped instantaneously. The paint color i used was called “Parchment Paper” and i got it at Home Depot (I don’t recall the brand, though… sorry!)
3) Give it Time! I waited 24-48 hours in between each coat. (2 coats of primer, 2 coats of paint, 1 coat of finish)

4) Remember the details! I spent extra time cleaning the old hardware (try “Brasso” but wear gloves, that stuff is HARSH!), and lining the drawers ($4/roll at Home Goods) and was very pleased with the final product.


